Home > Customer Projects > Transom/Stringer/Floor Repair
Subject: Transom/Stringer/Floor Repair
Date: January, 2006
Note: All images can be seen in a larger version by clicking on them.
One of our customers very kindly supplied us with these pictures of his transom, stringer and floor repair. The work was done at a professional level and his notes on the pictures describe the process.
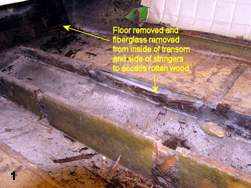
1. Floor removed and fiberglass removed from inside of transom and side of stringers to access rotten wood.
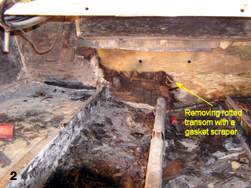
2. Removing rotted transom with a gasket scraper.
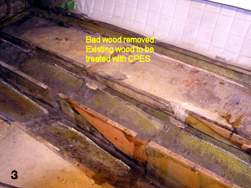
3. Bad wood removed. Existing wood to be treated with CPES*.
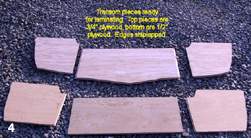
4. Transom pieces ready for laminating. Top pieces are 3/4″ plywood, bottom are 1/2″ plywood. Edges shiplapped.
5. Transom pieces laminated with L&L Resin* and treated with CPES*.
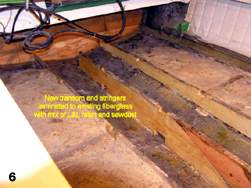
6. New transom and stringers laminated to existing fiberglass with mix of L&L Resin* and sawdust.
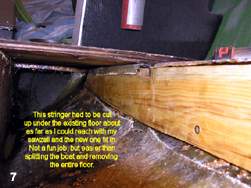
7. This stringer had to be cut up under the existing floor about as far as I could reach my sawzall and the new one fit in. Not a fun job, but easier than splitting the boat a and removing the entire floor.
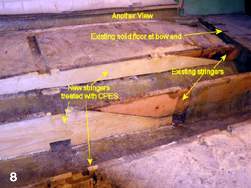
8. Another view: Existing solid floor at bow end, existing stringers, and new stringers treated with CPES*.
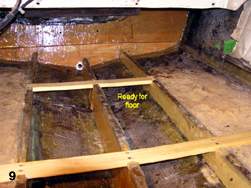
9. Ready for floor.
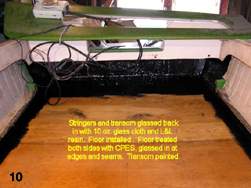
10. Stringer and transom glassed back in with 10 oz. glass cloth and L&L Resin*. Floor installed. Floor treated both sides with CPES*, glassed in at edges and seams. Transom painted.
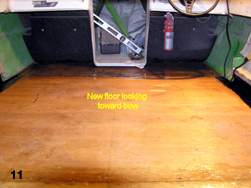
11. New floor looking toward bow.
* These products are unavailable, we are selling comparable products that will perform these same tasks. Feel free to contact us if you need assistance with which products to use.
Have questions?
Contact us by phone 206-364-2155 or e-mail (send us your pictures) at drrot@rotdoctor.com and we will gladly answer questions about our products or how to apply them. With 20+ years of experience and many more in the boating and construction industries, not much surprises us. We are here to help our customers solve their issues. Let us help you to not have any surprises in your repair project.


